

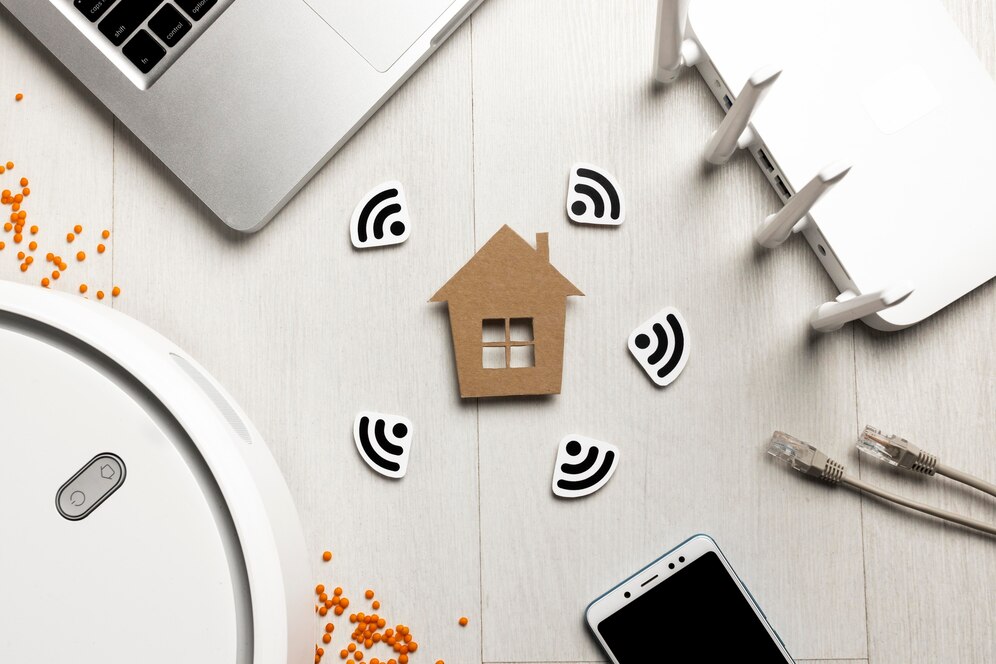
How to Set Up a Home Wi-Fi Network
In today’s connected world, having a reliable home Wi-Fi network is essential.
Whether it’s for work, streaming, gaming, or connecting with family and friends, a strong Wi-Fi network can make all the difference. Setting up your own home Wi-Fi network might seem daunting, but with the right steps, you can get your network up and running smoothly.
This guide will walk you through the process step by step, ensuring you create a robust and secure Wi-Fi network.

1. Understanding the Basics of Wi-Fi Networks
What is Wi-Fi? Wi-Fi stands for Wireless Fidelity. It is a technology that allows devices to connect to the internet wirelessly using radio waves.
Wi-Fi networks consist of a router, which connects to the internet, and various devices such as smartphones, laptops, and smart home devices that connect to the router.
Router and Modem:
- Router: Distributes the internet connection wirelessly to your devices.
- Modem: Connects to your internet service provider (ISP) and brings the internet connection into your home.
Most modern routers combine both the modem and router functions into one device.
2. Choosing the Right Equipment
Router:
- Speed and Range: Look for routers that support the latest Wi-Fi standards (such as Wi-Fi 6) for faster speeds and better range.
- Dual-Band or Tri-Band: Dual-band routers operate on both 2.4 GHz and 5 GHz bands, offering better performance and less interference. Tri-band routers add an additional 5 GHz band, ideal for heavy network usage.
- Security Features: Ensure the router supports WPA3 encryption for better security.
Modem:
- Compatibility: Make sure the modem is compatible with your ISP and can handle your internet speed plan.
Additional Equipment:
- Wi-Fi Extenders or Mesh Systems: For larger homes, consider using Wi-Fi extenders or mesh systems to eliminate dead zones and ensure consistent coverage.
3. Setting Up the Router and Modem
Connecting the Modem:
- Plug in the Modem: Connect the modem to a power source and to your ISP’s cable or DSL line.
- Wait for Connection: Wait for the modem to establish a connection with your ISP. This may take a few minutes.
Connecting the Router:
- Plug in the Router: Connect the router to a power source.
- Connect the Modem to the Router: Use an Ethernet cable to connect the modem to the router’s WAN (Internet) port.
- Turn on the Router: Power on the router and wait for it to boot up.
4. Configuring the Router
Accessing the Router’s Interface:
- Connect to the Router: Use a computer or smartphone to connect to the router. You can do this wirelessly or with an Ethernet cable.
- Open a Web Browser: Enter the router’s IP address (commonly 192.168.0.1 or 192.168.1.1) in the browser’s address bar.
- Log In: Use the default username and password (usually found on the router or in the manual) to log in.
Setting Up the Network:
- Change the Default Admin Password: For security, change the default admin password to something strong and unique.
- Configure Wi-Fi Settings:
- Network Name (SSID): Choose a unique name for your Wi-Fi network.
- Password: Set a strong password (use WPA3 encryption if available).
- Set Up Security Features:
- Firewall: Ensure the router’s firewall is enabled.
- Guest Network: If available, set up a guest network for visitors, keeping your main network more secure.
5. Connecting Devices to Your Wi-Fi Network
Connecting Your Devices:
- Find Your Network: On your device, go to the Wi-Fi settings and look for your network name (SSID).
- Enter Password: Enter the Wi-Fi password you set up earlier.
- Connect: Your device should now be connected to the internet.
Testing the Connection:
- Use a speed test website (such as speedtest.net) to check your connection speed and ensure it matches your ISP’s advertised speeds.
6. Optimizing Your Wi-Fi Network
Placement of Router:
- Central Location: Place the router in a central location in your home to ensure even coverage.
- Elevation: Position the router on a high shelf or mount it on a wall to reduce interference from furniture and other obstacles.
Reducing Interference:
- Keep Away from Electronics: Place the router away from other electronic devices that can cause interference, such as microwaves and cordless phones.
- Use the 5 GHz Band: If you experience interference on the 2.4 GHz band, switch to the 5 GHz band for less congestion and faster speeds.
Updating Firmware:
- Regular Updates: Check for firmware updates regularly to keep your router secure and running smoothly.
Managing Connected Devices:
- Limit Bandwidth-Heavy Activities: Manage devices and activities that use a lot of bandwidth to ensure smoother performance for all users.
- Quality of Service (QoS): If your router supports QoS, prioritize certain devices or applications for better performance.
7. Troubleshooting Common Issues
No Internet Connection:
- Check Cables: Ensure all cables are securely connected.
- Restart Devices: Restart the modem, router, and your device.
- Check ISP Status: Contact your ISP to see if there are any outages in your area.
Weak Signal or Dead Zones:
- Reposition Router: Move the router to a more central location.
- Use Extenders or Mesh Systems: Consider adding Wi-Fi extenders or a mesh system to improve coverage.
Slow Internet Speeds:
- Check for Interference: Reduce interference from other devices and switch to the 5 GHz band if needed.
- Limit Bandwidth Usage: Manage bandwidth-heavy activities and prioritize important devices.
Forgotten Wi-Fi Password:
- Access Router Interface: Log into the router’s interface using the default IP address and retrieve or reset the password.
8. Enhancing Security
Enable Strong Encryption:
- Use WPA3: If available, use WPA3 encryption for the best security. If not, use WPA2.
Regular Password Changes:
- Update Passwords Periodically: Change your Wi-Fi password regularly to maintain security.
Monitor Network Activity:
- Check Connected Devices: Regularly check the list of connected devices to ensure no unauthorized devices are using your network.
Disable WPS:
- Turn Off WPS: Disable Wi-Fi Protected Setup (WPS) as it can be a security risk.
Use a VPN:
- Protect Your Privacy: Use a Virtual Private Network (VPN) to secure your internet traffic and protect your privacy online.
9. Advanced Configuration (Optional)
Setting Up a Guest Network:
- Separate Network for Guests: Create a guest network with its own SSID and password, isolating it from your main network.
Parental Controls:
- Manage Content: Use parental controls to restrict access to inappropriate content and manage screen time for children.
Dynamic DNS:
- Access Your Network Remotely: Set up Dynamic DNS (DDNS) to access your home network remotely.
Port Forwarding:
- Enable Remote Access: Use port forwarding to enable remote access to devices and services on your network.
Conclusion
Setting up a personal home Wi-Fi network is a straightforward process that involves choosing the right equipment, configuring your router, and optimizing your network for performance and security.
By following these steps, you can create a reliable and secure Wi-Fi network that meets all your needs. Regular maintenance, including updating firmware and monitoring connected devices, will ensure your network remains secure and efficient.
With your new Wi-Fi network in place, you can enjoy seamless internet connectivity for work, entertainment, and staying connected with loved ones.


Leave a Comment