How to Build a Custom PC for Gaming
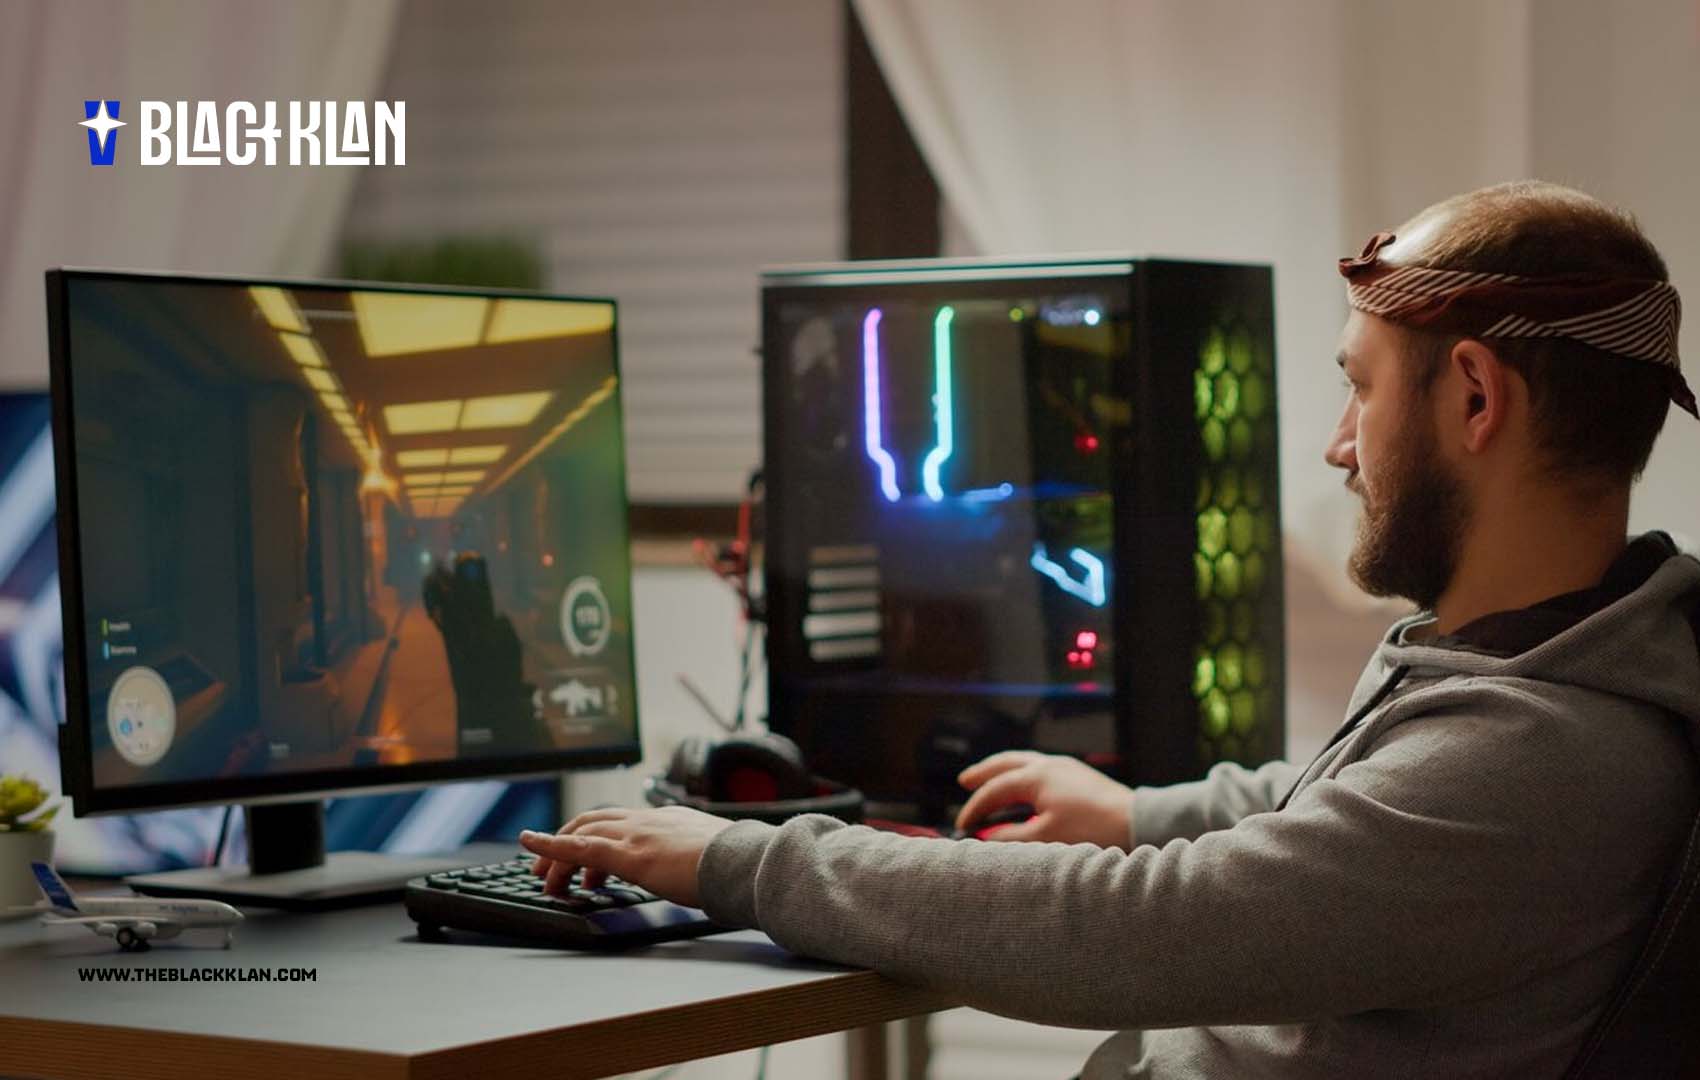
Building a custom gaming PC can be a rewarding experience that not only saves you money but also gives you a deep understanding of your computer’s hardware.
Whether you’re a seasoned gamer or a newcomer, constructing your own rig ensures you get exactly what you need to play the latest titles at the highest settings.
This comprehensive guide will take you through each step of the process, from choosing components to assembling and testing your new gaming powerhouse.

1. Understanding the Basics
Before diving into the components, it’s essential to understand the core parts of a gaming PC and their roles:
Central Processing Unit (CPU): The brain of your PC, responsible for executing instructions and processing data.
Graphics Processing Unit (GPU): Handles rendering of images, video, and animations, crucial for gaming performance.
Motherboard: The main circuit board that connects all components and allows them to communicate.
Memory (RAM): Temporary storage that provides space for your PC to read and write data to be accessed quickly.
Storage (SSD/HDD): Permanent storage for your operating system, games, and files.
Power Supply Unit (PSU): Supplies power to all components.
Case: Encloses and protects your components while providing ventilation.
Cooling System: Keeps your components cool to maintain performance and longevity.
2. Choosing the Right Components
CPU:
- For gaming, a CPU with high clock speeds and multiple cores is ideal. Popular choices include Intel’s Core i5 and i7, and AMD’s Ryzen 5 and Ryzen 7 series.
GPU:
- The GPU is arguably the most critical component for gaming. Consider high-performance models like NVIDIA’s RTX 30-series or AMD’s RX 6000-series for excellent gaming performance.
Motherboard:
- Choose a motherboard that supports your CPU and has enough slots for RAM, a GPU, and other peripherals. Look for features like overclocking support if you plan to tweak performance.
RAM:
- 16GB of RAM is the sweet spot for gaming, but 32GB can future-proof your system. Opt for high-speed RAM (3000MHz or higher) for better performance.
Storage:
- An SSD is essential for fast load times and overall system responsiveness. A 500GB SSD for your operating system and games, paired with a larger HDD for additional storage, is a good setup.
PSU:
- Choose a PSU with enough wattage to power your entire system, usually 600W to 750W for most gaming builds. Opt for a reliable brand and look for an 80+ Gold efficiency rating.
Case:
- Ensure your case has good airflow, sufficient space for your components, and is compatible with your motherboard size (ATX, microATX, etc.).
Cooling:
- Depending on your build, you might need additional fans or a liquid cooling system to keep your components cool, especially if you plan to overclock.
3. Gathering Your Tools
Before you begin assembling, make sure you have the following tools:
- Phillips-head screwdriver
- Anti-static wrist strap
- Cable ties
- Thermal paste (if your CPU cooler doesn’t come pre-applied)
- Clean workspace
4. Assembling Your PC
Step 1: Prepare Your Workspace
- Find a clean, static-free environment to work in. Wear an anti-static wrist strap to avoid damaging components.
Step 2: Install the CPU
- Open the CPU socket on the motherboard by lifting the retention arm. Align the CPU with the socket (matching the triangle markers) and gently place it in. Lower the retention arm to secure the CPU.
Step 3: Install the CPU Cooler
- If your cooler requires thermal paste, apply a small pea-sized amount to the center of the CPU. Attach the cooler according to the manufacturer’s instructions and secure it.
Step 4: Install RAM
- Open the RAM slots by pushing the tabs outward. Align the RAM module with the slot and press down firmly until the tabs click back into place.
Step 5: Install the Motherboard
- Place the motherboard’s I/O shield in the case’s rear opening. Align the motherboard with the standoffs in the case and secure it with screws.
Step 6: Install the PSU
- Place the PSU in the designated area of the case, usually at the bottom. Secure it with screws and route the power cables through the case’s cable management holes.
Step 7: Install Storage
- Mount your SSD and HDD in their respective bays and secure them with screws. Connect them to the motherboard with SATA cables and to the PSU with power cables.
Step 8: Install the GPU
- Remove the appropriate expansion slot covers from the case. Insert the GPU into the PCIe slot on the motherboard and secure it with screws. Connect the necessary power cables from the PSU.
Step 9: Connect Case Cables
- Connect the case’s front panel connectors (power button, USB ports, etc.) to the motherboard. Refer to the motherboard manual for exact pin locations.
Step 10: Cable Management
- Use cable ties to organize and secure cables. Ensure cables are routed in a way that doesn’t obstruct airflow.
Step 11: Final Check
- Double-check all connections and screws. Make sure everything is securely in place.
5. Installing the Operating System
With the hardware assembled, it’s time to install the operating system (OS):
Step 1: Create a Bootable USB Drive
- Download the OS installation file (e.g., Windows 10) and use a tool like Rufus to create a bootable USB drive.
Step 2: Boot from USB
- Insert the USB drive into your PC and power it on. Enter the BIOS by pressing the designated key (usually DEL or F2) during startup. Set the USB drive as the primary boot device.
Step 3: Install the OS
- Follow the on-screen instructions to install the OS. Once installed, remove the USB drive and restart your PC.
Step 4: Install Drivers
- Install the necessary drivers for your motherboard, GPU, and other components. These can be found on the manufacturers’ websites or included on CDs with your hardware.
6. Testing and Optimizing
Step 1: Run Benchmarks
- Use benchmarking software like 3DMark or Cinebench to test your PC’s performance. Compare your results with similar builds to ensure everything is functioning correctly.
Step 2: Monitor Temperatures
- Use software like HWMonitor to keep an eye on your CPU and GPU temperatures. Ensure they remain within safe ranges, especially during intensive tasks.
Step 3: Overclocking (Optional)
- If you want to squeeze extra performance out of your system, consider overclocking your CPU and GPU. Use BIOS settings and software tools to adjust clock speeds and voltages, but proceed with caution to avoid overheating.
Step 4: Update Software
- Keep your OS, drivers, and gaming software up to date to ensure optimal performance and security.

7. Maintenance and Upgrades
Regular Cleaning:
- Dust can accumulate and affect performance. Regularly clean your PC’s interior using compressed air to remove dust from fans, heatsinks, and other components.
Software Maintenance:
- Perform regular software maintenance, including updating your OS, drivers, and performing system scans to keep your PC running smoothly.
Upgrades:
- Over time, consider upgrading components to keep up with new games and technologies. Common upgrades include adding more RAM, installing a larger SSD, or upgrading the GPU.
Conclusion
Building a custom gaming PC is a fulfilling project that gives you complete control over your gaming experience.
By carefully selecting components, assembling your PC with attention to detail, and optimizing your setup, you can create a powerful gaming rig tailored to your needs. Remember, the key to a successful build is patience, research, and a willingness to learn. Enjoy your new custom-built gaming PC and the incredible gaming experiences it will provide!


Leave a Comment